Assembly Instructions
You will need:
-scissors
-glue stick
-hole punch
-ribbon or string
-scissors
-glue stick
-hole punch
-ribbon or string
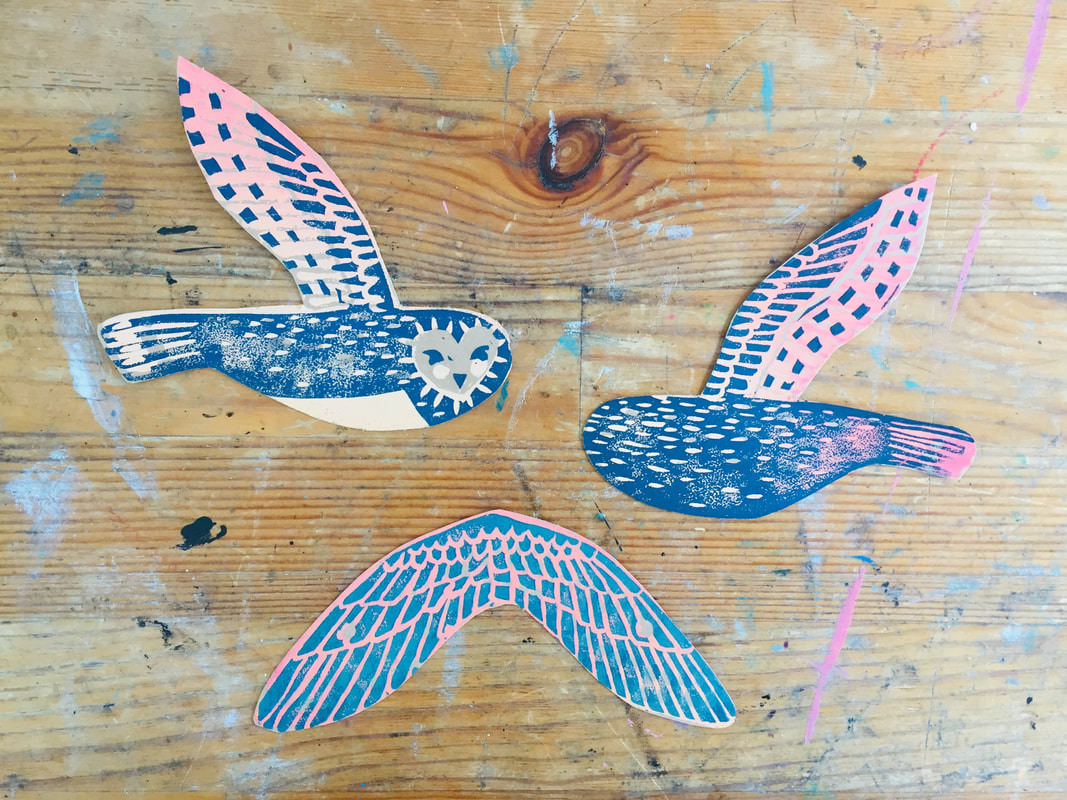
Step 1: Cut out all three pieces. Don't worry about making the edges perfect!
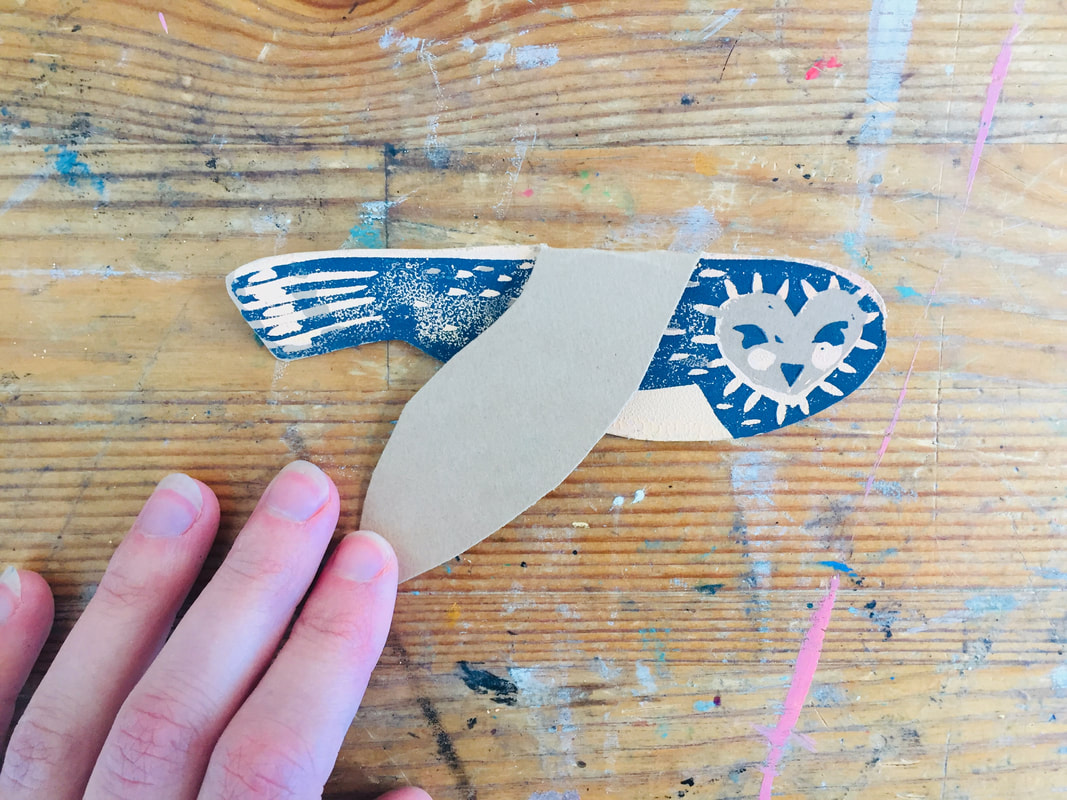
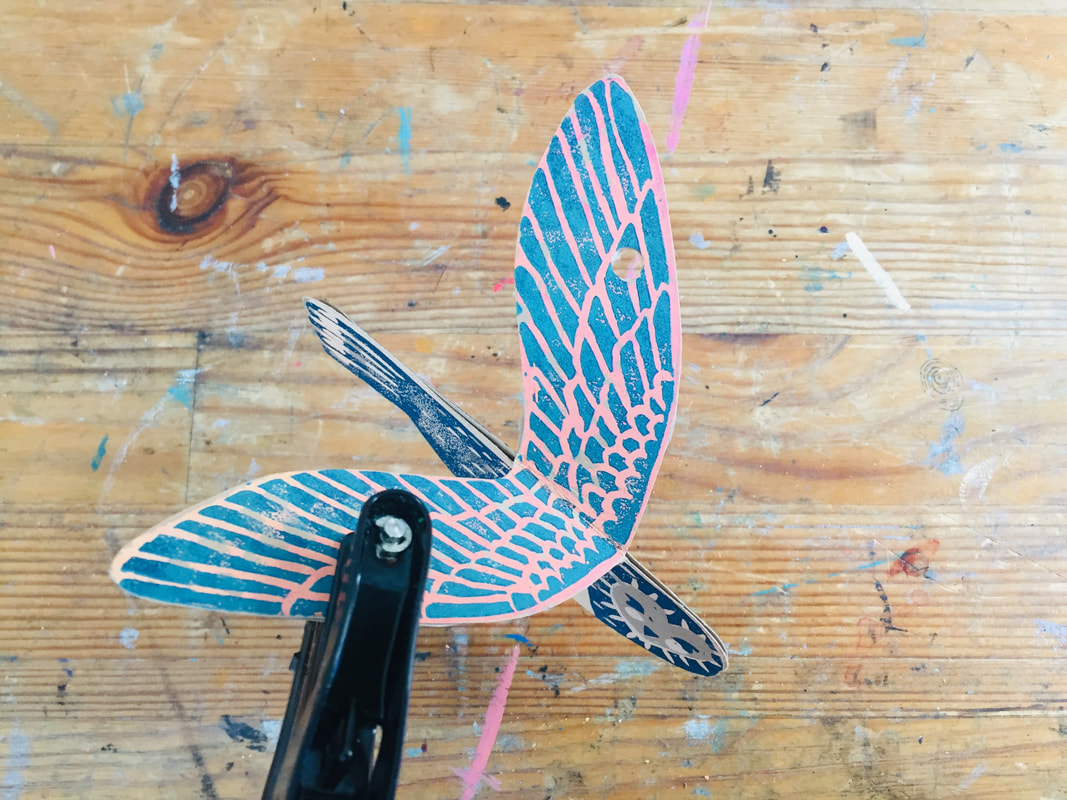
Step 2: Fold down the wings on both of the side pieces. Fold the wing piece in half as shown.
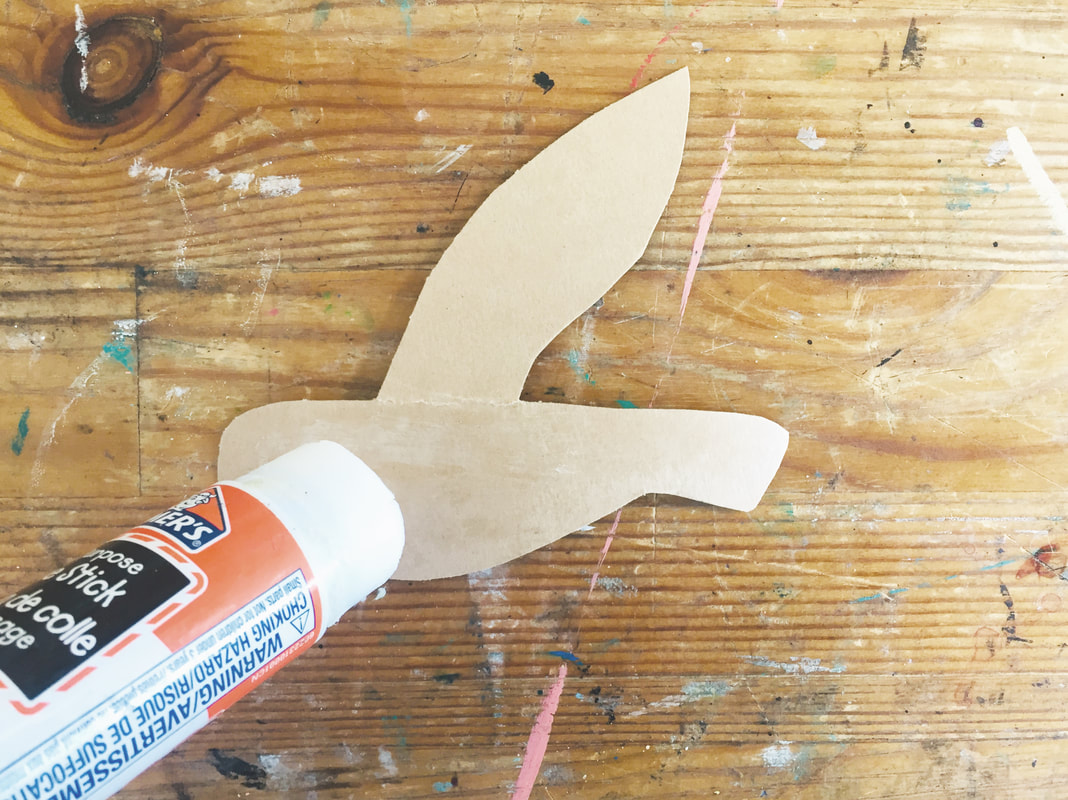
Step 3: On one of the side pieces, put glue on the back of the body (not the wing!) Then stick the two side pieces together back-to-back. Don't worry if the edges don't line up perfectly. It's part of the ornament's handmade charm!
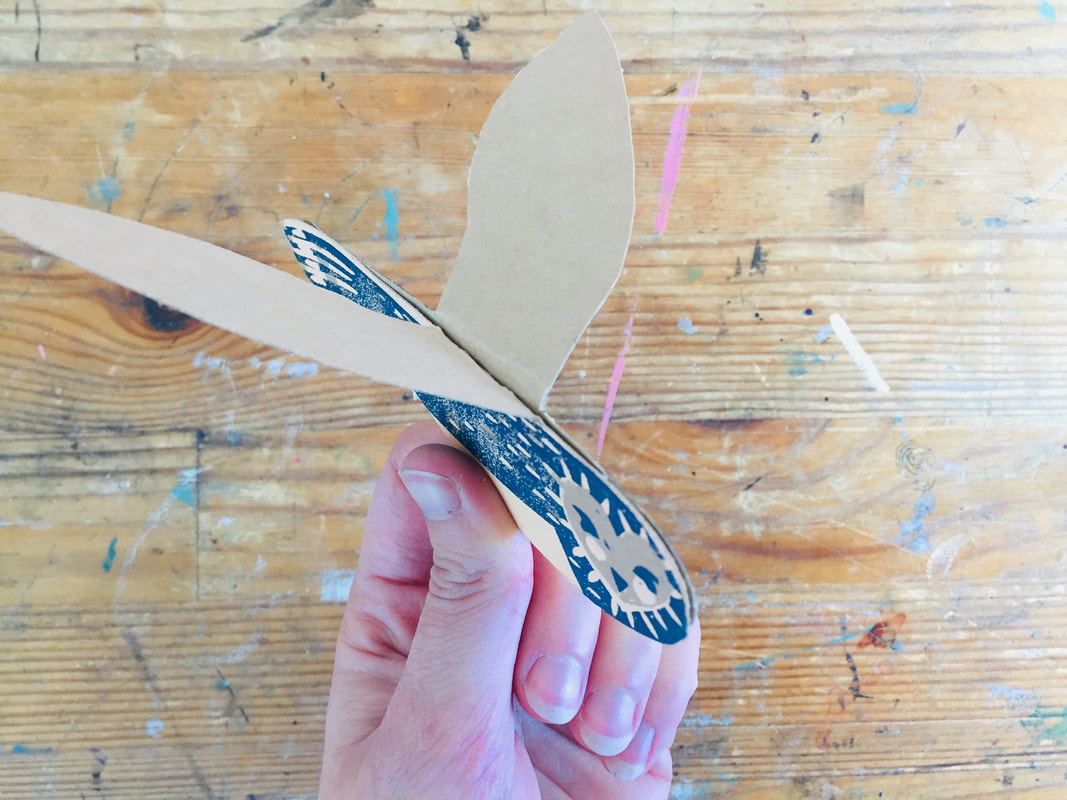
Step 4: Put glue on the entire back of the wing piece. Then stick the wing piece on top of the other wings.
Step 5: Punch a hole in each wing (you can tell where to punch the hole because there is little circle on the top of each wing).
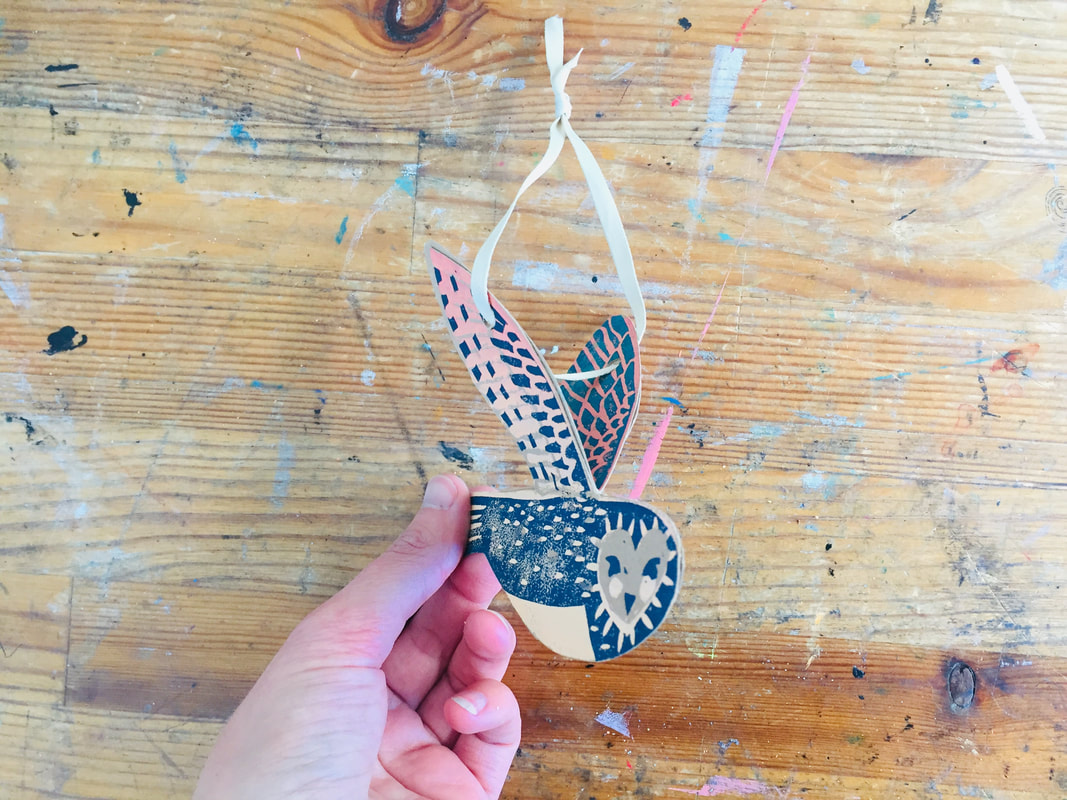
Step 6: Thread a piece of ribbon or string through both holes and tie a knot at the top. Now you can hang up your owl ornament!
